Sunday, January 6, 2013

Eggs 'not so' benedict

Eggs 'not so' benedict...in fact, it's so different from eggs benedict, I should probably call it 'eggs contradict'.


The last time we were at the grocery store, the stock of 12 and 18 pack eggs were completely depleted, leaving only the 5 dozen boxes.  At a great price for the box, we picked one up, and I vowed to use eggs in as many dishes as I could come up with.

Those eggs, a little leftover fromage fort, and some slices of two day old bread got me to thinking.  How about an egg dish in the style of a benedict, but with a very different twist?


It turned out to be a great twist, and had Cliff nearly drooling as he worked his way through his serving.  He had the "don't touch my food" look on his face...always a good sign that something turned out well.

Ingredients (this is enough for two servings):

Fresh squeezed lemon juice
White wine
1 egg yolk, whisked
4 eggs
4 slices of day (or two day) old bread
Garlic butter (or any butter will work)

Directions:

Heat oven to broil.

Start a large pot of water to boiling for poaching eggs.  About 3" of water in the pot is sufficient.

In the top of a double boiler, begin melting the fromage fort.  As it melts, thin it with a bit of lemon juice and white wine, maintaining the consistency of a lightly thickened sauce.  While whisking, add the egg yolk to the sauce, and continue to whisk until well incorporated.

On both sides of your bread slices, spread a very thin layer of garlic butter, and lay them out on a baking sheet.  Place into heated oven, and toast one side very lightly.  Remove baking sheet from oven, flip bread slices, and very lightly toast the other side.  Remove from oven, and set aside.

Continue working your fromage fort sauce, adding more liquid as needed to keep your sauce lightly thickened.

Poach your eggs in your boiling water.  When centers jiggle lightly, remove from water, and begin building your servings; put two slices of bread on each plate, layer your poached eggs over your toasted bread, and top with the fromage fort sauce.  Top with chopped chives, or if you are feeling a little lazy, as I was, just take two chives, cross them, and lay them on top of your plated dish.

This is a powerfully flavored dish, but for the wine and cheese lover, it's a little stroll through Heaven.  Enjoy.

Friday, January 4, 2013

Fromage fort stuffed artichokes

Not sure what prompted this idea, but sitting at the breakfast table this morning, I got to thinking about artichokes, and in particular, stuffed artichokes.  I have never stuffed an artichoke in my life, but wanted to give it a try.


I had made croutons and fromage fort in preparation for this dish.  As it would turn out, the flavors played exceptionally well together.  The croutons and fromage fort can be made in advance, making final preparation quick and easy.  As a matter of fact, the artichokes could be pre-cooked in advance, as well, and kept in the refrigerator until you're ready to pull it all together.

Ingredients:

2 large artichokes, thorns trimmed, and stems removed
1 cup garlic croutons, crushed to 1/2 cup
1 cup fromage fort

Directions:

Heat oven to 350 degrees.

In a pressure cooker, cook artichokes for 15 minutes at full pressure, according to your pressure cooker's manufacturer's directions.  Release pressure rapidly.  Remove artichokes from pressure cooker, and allow to cool completely.  In the absence of a pressure cooker, you can steam your artichokes, but adjust cooking times, as steaming takes significantly longer to cook an artichoke than pressure cooking does.

In a small bowl, combine crushed croutons and 1/2 cup of the fromage fort.

In a loaf pan, stand artichokes with stems down.  Carefully separate the leaves, and stuff the crouton mixture down between the leaves, working your way to the inner most leaves.


Split the remaining fromage fort in half, and add to the top of the artichokes.

Bake, uncovered, for 30 minutes, or until fromage fort is bubbly and melted, and artichokes are heated through.  Serve immediately.

Fromage Fort

With several cheeses in the fridge, it was time for some formage fort.  I became acquainted with fromage fort this past summer, and was hooked at first taste.  What a great appetizer, or even a condiment.  Powerful flavors that pack one heck of a punch.


The translation for fromage fort is 'strong cheese'.  In this dish, any strong cheese, hard or soft, will work.  I used two hard cheeses and two soft cheeses, and I used equal amounts of each cheese.  I used Brie, Gorgonzola, Gruyere and Parmesan, but use whatever you have leftover, and if the amounts aren't equal, don't worry about it.

Ingredients:

1 lb. assorted strong cheeses (shred hard cheeses, and slice soft cheeses)
1 clove garlic
Pinch salt
Fresh cracked black pepper to taste
White wine (you will use more/less depending upon the cheeses you use)
1 tablespoon chives, chopped (use any herbs you like, it really doesn't matter)

Directions:

To the bowl of your food processor, add cheeses, garlic, salt and pepper.  Pulse until cheeses come together.  Add wine, 1/4 cup at a time, and pulse after each addition.  Continue with your wine additions until you reach the consistency of a spread.  I think I used about 3/4 cup in total.  It just depends upon the consistency of your chosen cheeses, and how thick or thin you want your spread.  Bear in mind, the more wine you add, the stronger that flavor will be.  Choose the balance that suits you.

Remove from food processor bowl, add chives, and stir to combine.  Transfer to a pretty bowl, and serve.  This is a very strong flavored spread, and goes well with any mild crostini or cracker.

I used my last batch as an appetizer on crostini, and thinned, as a sauce for my eggs 'not so' benedict a couple of days later.  I can also see this used in a gratin dish, as well as a topping for baked potatoes, perhaps with bacon crumbles.  I imagine it would make a great salad dressing, thinned with olive oil and vinegar.

It's very strong in flavor, but if you love strong cheeses, this is a really great way to use them, and the applications seem to be many.

New banner, new year, new goals

When I started my blog over a year ago, I made seasonal banners from photos I'd taken.  I loved them, and still do, but decided it would be easier to design a simple banner that could stay up year round, so that's what I did.

The choice of design is symbolic.  The dandelions signify the end of the flower's cycle, and as the seeds blow away, never knowing where they will land, they give promise to new growth in a new season.  The banner will be a gentle reminder of the lessons 2012 brought, and inspire me to continue working to implement those lessons into my life.


As usual, I have many goals on my list for the year.  Some are project goals, some are self-awareness goals, but all have some significance for where I find myself in my life's journey.

Whatever your goals for 2013, I hope they bring you some personal fulfillment and joy.

Monday, December 31, 2012

End grain cutting boards

This is a project I found great satisfaction with.

First, a word about end grain boards.  What makes an end grain board so desirable?  Well, it's fairly simple.  They are far more durable, more impervious to bacteria penetration, do not show cut marks, and they last (dare I say it?) almost a lifetime.  They are very expensive, but for anyone who enjoys working in the kitchen, it's a must have.

Imagine a paint brush laying on it's side, and your knife coming down and across the bristles.  This is a hard surface on your knives, and in no time the wood will show cut marks, and even possibly knicks where small pieces of wood become dislodged.  This is what happens when you use an edge or flat grain board.

Now, take that same brush, and hold it upright, bristles pointing to the sky.  Imagine your blade coming down into the fibers, making a nice, soft landing for your knives.  As you extract your knife, the fibers (or bristles) immediately close up and seal the cut.  Knife marks just do not show on an end grain board, and as a result, they last much, much longer.

It's really that simple.  The process of making an end grain board is not complex, though some of the designs can be *quite* impressive and intricate, and, of course, one must have the right tools.  How many times have I heard my husband say, "if I only had (insert power tool here), I could make (insert project here)."  Too many to count, I'm afraid.  And, now, I'm a power tool junkie, myself.  How the heck did *that* happen?

At first I thought I would post this as a tutorial, but then realized there are so many tutorials online, written by woodworkers with many, many years of experience.  Those folks are far more qualified than I, so I will just share my results.

We started with oak, as I wasn't sure where this project would go, nor if we would even be successful with it.  I didn't want to invest in a more expensive wood until I knew we could do this.  The oak was found at our local lumber yard.  We had everything else we would need, including a few tools.

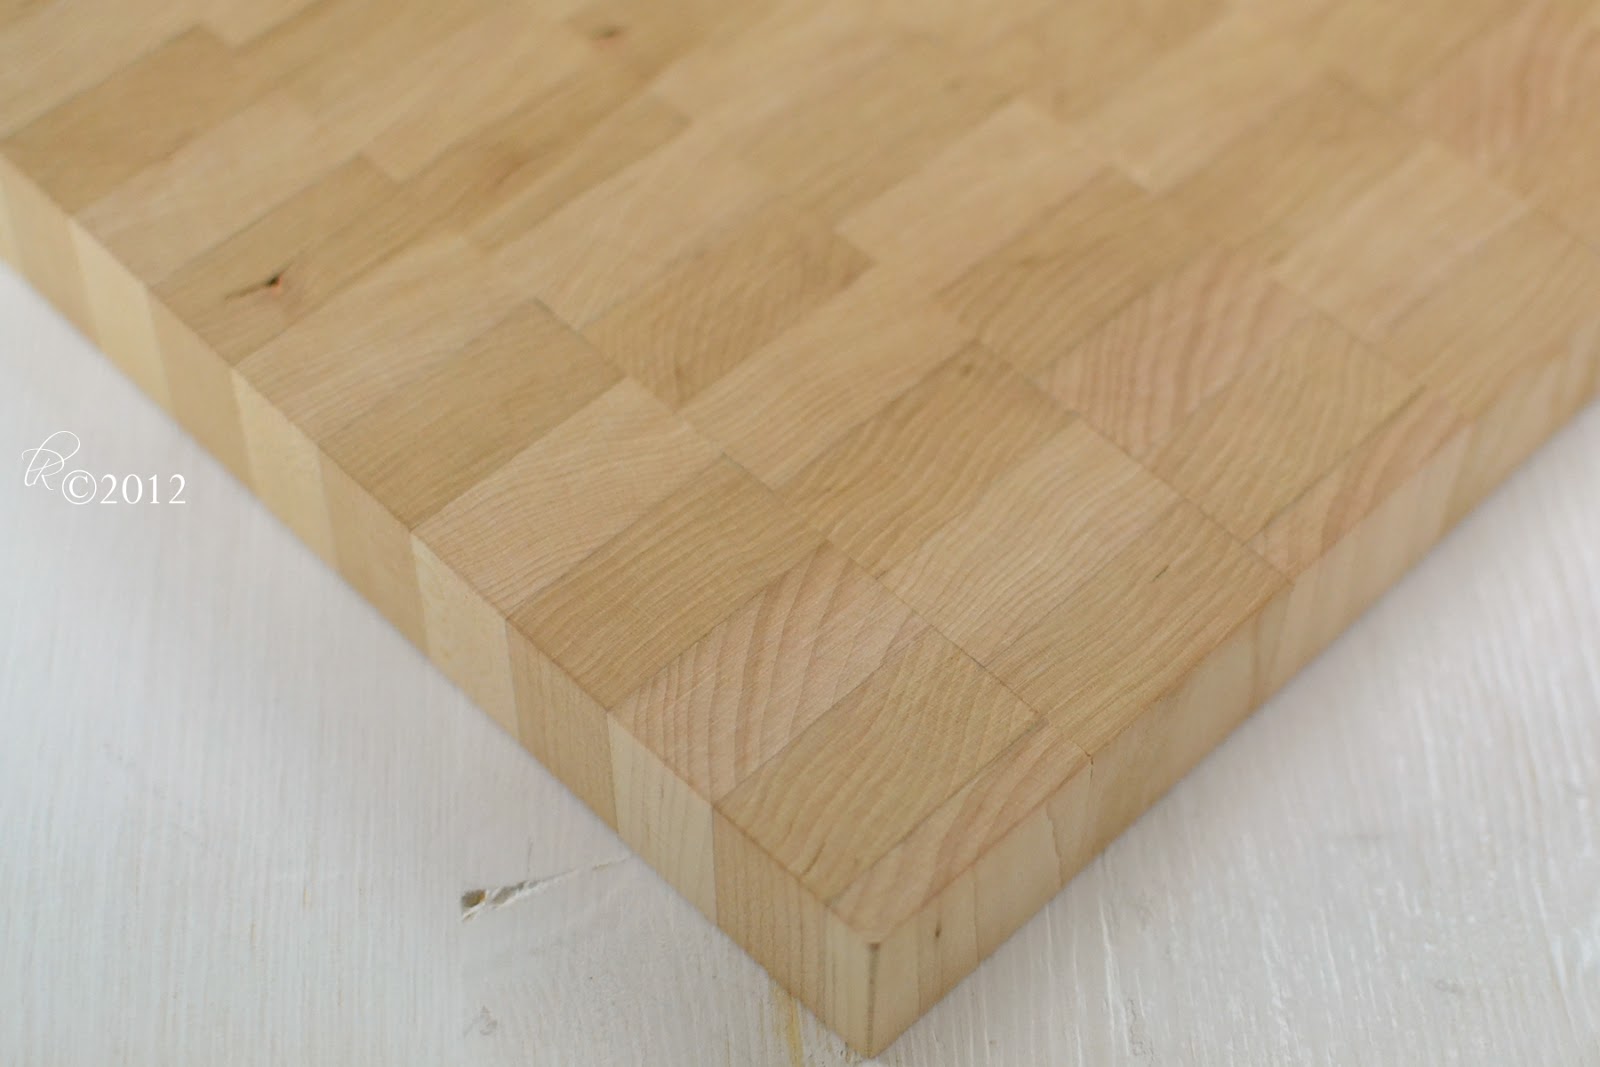
The oak board turned out so pretty, with it's distinctive and dramatic grain pattern.  These shots were taken after the final sanding, and edge finish, but before we oiled it for the first time.


Then after it was oiled...so pretty!


Then it was time for the cherry/maple board.  Because the woods had more of a color variance from one another, a 'pattern' was calling my name.  Not a particularly impressive, nor inspired design, but I'm really proud of this one, too.

Before oiling.


And after oiling.


This was such a fun project.  If I thought I could earn a bit of money making these boards, I fear I would do nothing else.  Working with wood is such an 'earth connecting' experience for me.  I think I must surely have a woodworkers' heart.

Wednesday, December 26, 2012

Icing ease...


Yesterday I posted my cookie trials, and, of course, those cookies ended up iced.  I thought I would share a couple little icing tricks I came up with that worked well, and might make for ease of use for kids, too.

I've always used icing bags for decorating cakes, and when I decided to make royal icing for my cookies, they were my first thought, but icing bags can be messy.  Given that I used to make icing bags with parchment triangles, the 'already made' icing bags are a dream, but surely I could make them a little less messy.


I filled my bags with icing (these would be my runny, or 'flood' icing bags, so needed no tips, just a snip off the bottom with a pair of scissors).  To keep the icing in the bag, and reduce spillage out the top, I filled each bag, twisted the top, and affixed a zip tie.  As the icing was used the zip tie could be pushed down to keep the bag 'full'.  Worked like a charm.


To keep icing from oozing out the tip while you work, just place each bag into a glass, tip up.

For piping icing that would be a little more stiff, I was going to use bags with icing tips, then had a brain flash.  What about condiment bottles?  As it turned out, it would be a terrific idea.


The only caveat was that the bottles needed to remain inverted between uses, or it would be one 'shake down' after another.  That was easily solved by putting the inverted bottles into glasses.  Any drippings would catch in the glass vs. all over the work surface.

I found the bottles at Walmart for $.97/each.  A great buy.  I only picked up two, but I think I will get a few more the next time I'm there.  We don't have children, but as I used these bottles of icing, I was struck with how easily a child could decorate cookies with these bottles, and wanted to share.

We iced our cookies, then used toothpicks to pull through the icing to make interesting designs.


Royal icing takes a while to dry, but if you let it dry completely, the icing is fairly hard, and impervious to nicks.  It also dries with a nice, matte finish.  I love the look.

Tuesday, December 25, 2012

The Christmas cookie trials...

Seems I'm always building a better mouse trap, and this year's Christmas cookies were no exception.


Tired of flat cookies that lose their shape, I did some cookie trials.  Of course, prior to experimentation, I spent plenty of time reading up on as much about Christmas cookies as I could.  Some recipes suggested shortening vs. butter.  Around here, that's a big, fat "no!"  We don't like that white, gooey, greasy, blob of questionable origin.  We feel the same way about margarine.  If it's not real, we don't use it.  Butter had to be on the list.

First trial included the removal of baking powder from my sugar cookie recipe.  This proved to be a good step, and while the cookies did a better job of holding their shape, the results were far from the goal, still spreading to about double their cut size.

Clearly I would need more trials, and perhaps experiment with a few recipes that were not my own.

Second trial included a recipe touted as a 'no spread' recipe.  Results weren't measurably better, so that recipe quickly found the round file.

Any cookie that included too much sugar was out.  Truth be told, with a layer of royal icing on top, and all the sweetness that brings, a sugar cookie underneath wasn't all that appealing, so my mind started spinning. I wanted some texture, and crumble, but without too much sweetness.  The sugar cookies didn't provide it, not my own recipe, nor the recipes of others.  Hum, what to do?

How about shortbread?  This would prove to be an excellent choice for this year's Christmas cookies.  Hearty, crumbly, good texture, and not too sweet, so as to keep from pushing the cookies off the 'sugar scale'.

As to the type of shortbread recipe?  It really doesn't matter, any shortbread cookie recipe will do, provided the ingredients are butter, powdered sugar and flour, and nothing else, which is the case for most shortbread I'm aware of.

What did I learn about cookies holding shape?  A lot, as it turned out...

The type of cookie matters:
Shortbread was far superior at holding shape than sugar cookies, and it didn't matter which sugar cookie recipe I tried, they all flattened out and spread far past the point I found acceptable.

Get it super cold:
Once the dough is made, chill it overnight.  It will be very hard the next morning.  This is good.  It will soften up very fast as you work it.

Once cookies are cut, another good chill is in order prior to baking.  At least an hour, preferably two.

Heat plays a starring role:
Once the oven is to temperature, keep it there for at least half an hour before you put your well chilled cookies inside.  The chill will keep the cookies together longer as the heat works to create a 'crust' to provide further holding power.

The surface:
Obviously you don't want your cookies to stick to your pan, and with butter in shortbread cookie dough, that's not likely, but lay your cookies out on a parchment paper lined baking sheet, and you will increase the chances of a nice 'release' of the cookies, as well as less spread.  The parchment paper will absorb some of the butter, which reduces the chances of spread...the bare baking sheet will not absorb butter, it will pool, and increase the chances of spread.

The trials:

Sugar cookie, minus baking powder, on the left.  Shortbread on the right.

Different view, same two cookies.  Both were rolled to 1/4" thickness.

Cookie spread with the sugar cookie, as compared to the cutter used.

Cookie spread with the shortbread cookie, as compared to the cutter size.

Lesson learned...shortbread for iced cookies.  Perfect level of 'sweet', and they hold their shape well.