

The finished project was pretty straightforward to wrap up. Unfortunately, with fires raging in our state, and other areas of focus, I wasn't great about images for part two, so for that, I apologize.
As I mentioned in part one, the top pot is completely water sealed. I used Rustoleum Ultra Clear water sealant. It worked like a charm.
I used two coats on the inside, and two coats over the paint on the outside, though I added the outside coats over the painted surfaces after I'd adhered the pots together. I left the rim bare of both paint and sealant, because I felt it would create a better seal with the silicone, and it did.
Before adhering the two pots together, the drain hole in the bottom, unglazed pot must be plugged. You can do this several ways, but in my experience, the best option is to tape off the hole from the outside, then add about 1/2" of concrete into the bottom of the pot. I have also used hot glue, which works okay, but I don't think it's a long term solution.
To adhere the two pots together, I smeared a thin layer of silicone on the bare rim of the top pot, making sure to completely cover the entirety of the bare rim. I then ran a bead all around the rim on the bottom pot. I upturned the top pot, and set it on the bottom pot. I then ran another bead around the outside edge, and smoothed it with my finger. I used painter's tape to create an edge, so it wouldn't look sloppy, but this wasn't really necessary.
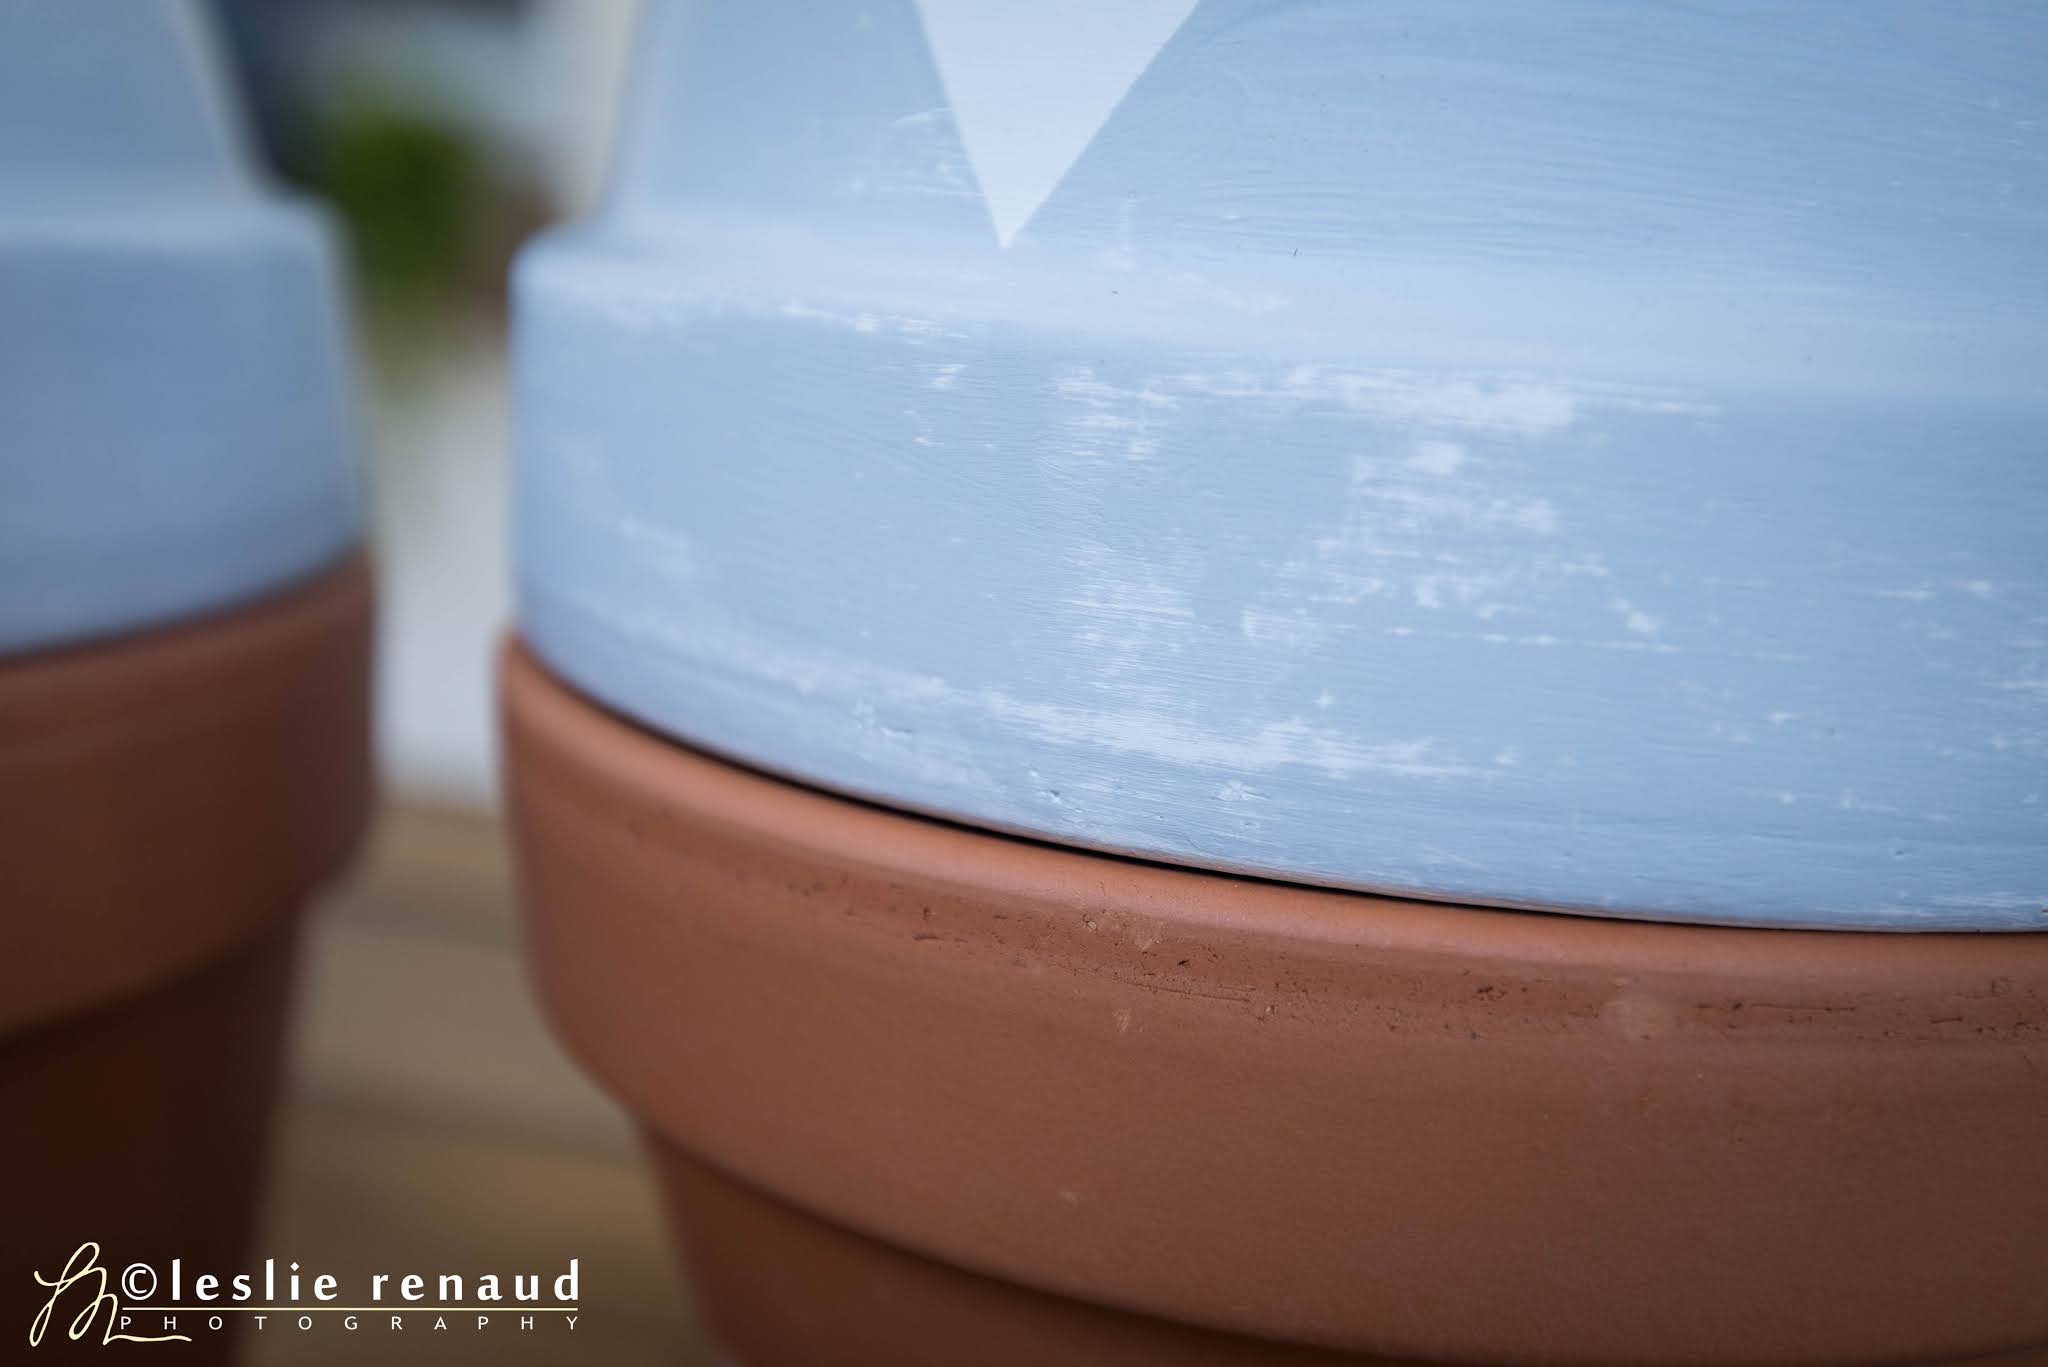
In the images I've included in this post, the top pot hadn't yet been water sealed or adhered to the bottom pot. The two pots are simply dry fit, but this gives you an idea of the finished look.

The entire reason to water seal the top pot is to keep the roots low. I didn't do this on my first and second generation of ollas, and I found the roots were barely below the surface. Unless the olla was topped off all the time, these top residing roots would dry out. This didn't seem to be an issue for my basil, but it was for my tomatoes. Tomatoes are water hogs, and they do not like inconsistent watering. With the roots so high, watering wasn't as consistent.
Adding the water sealed top pot as a reservoir, and burying the ollas with 2-3" of the sealed reservoir under the soil surface, the roots would stay lower, and likely not dry out, as the bottom pot would always (in theory) be full as the water level in the reservoir drains into the bottom, unsealed wicking pot.
For the pots I painted white, I also painted some clay coasters white. Before water sealing the coasters, I stamped them with a custom design. My husband always calls my garden "Shangrila". We live in Bend, Oregon, and the numbers at the bottom are the days of the months in which my beloved dogs were born. Jet 8/23, Ty 7/11 and Kindle 7/5. I love things with meaningful content. Here you can see the lid resting over the "fill" hole for the olla, which is simply the drain hole of the pot...

No comments:
Post a Comment